Get started with Krewbill
Follow these steps to go from a new account to an AI tool that reads your approved notes. Each step says what you should see.
Six steps.
- 01
Create an account
Sign up with your email and a password of at least 8 characters, or choose Continue with Google. Then open the confirmation email we send you.
What you should see: A page that says to check your email. After you confirm, you land on a question: What should your AI already know?
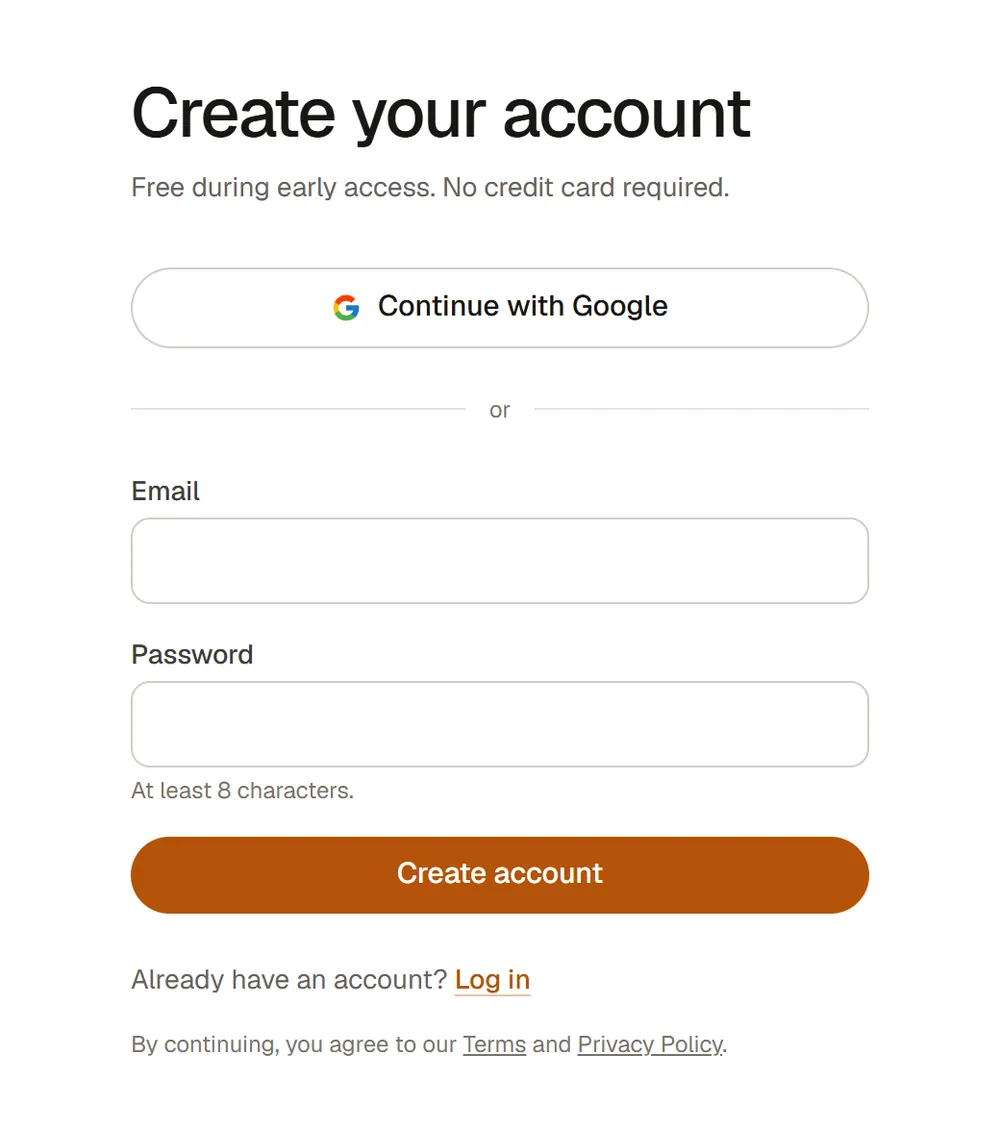
The sign-up page. - 02
Create a space for your first client
Type the client's name, leave the menu on Client, and press Start. A space is where the notes for one client live.
What you should see: Your new space opens with sections for the notes, such as Voice and rules, Key facts and Decisions.
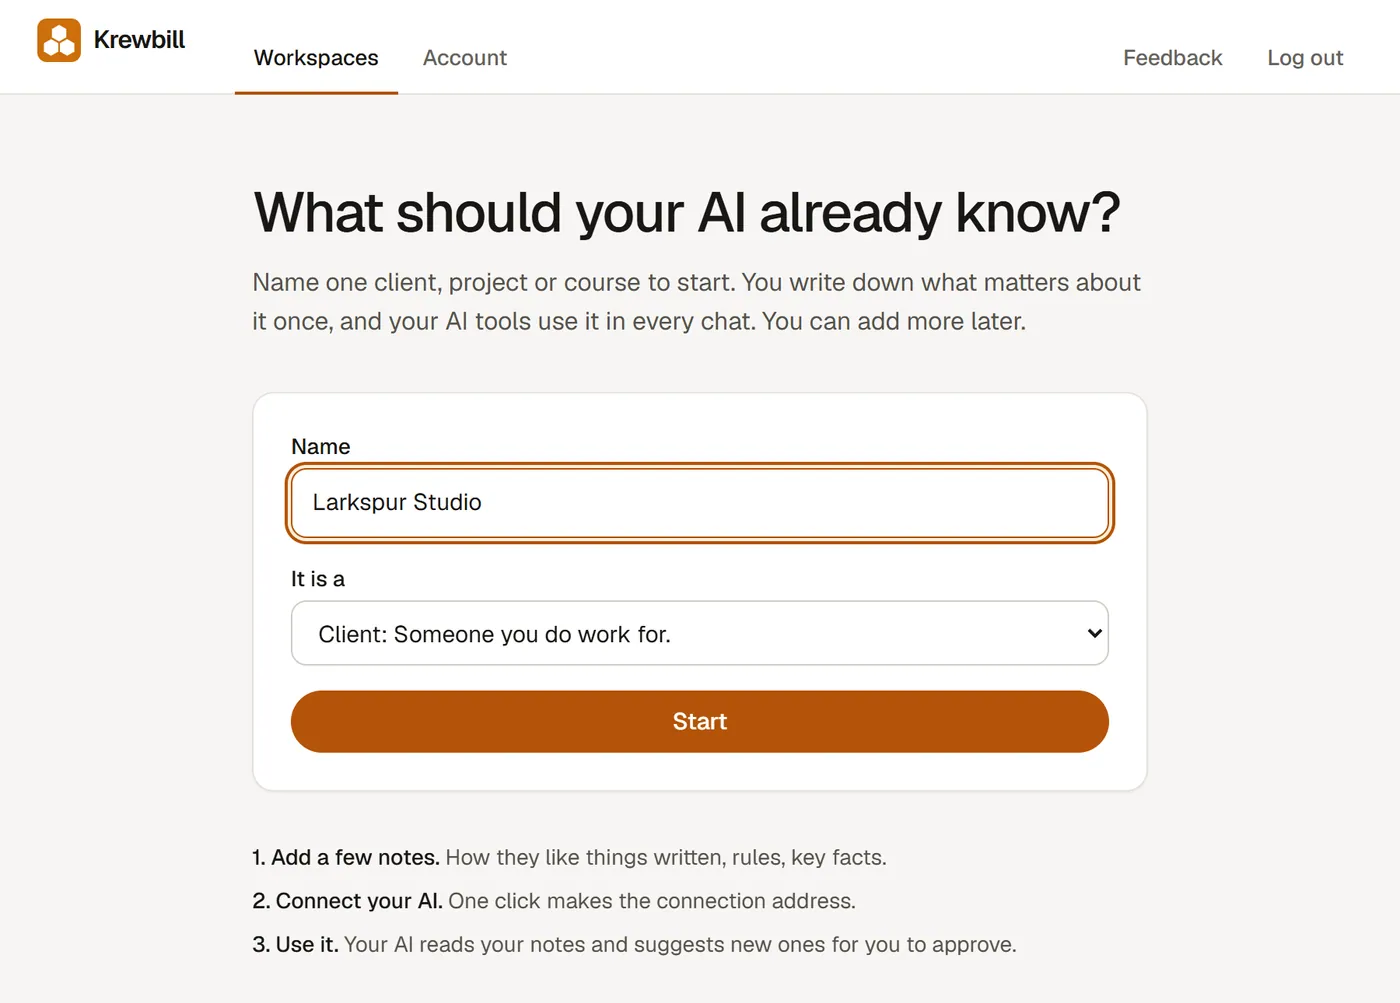
Naming the first space. The name here is an example. - 03
Add three rules
Open Add a note. Choose where it goes, give it a short title, write one clear sentence, and press Save note. Do it three times. For example: how the client likes to be written to, one thing never to say, and one decision that was made.
What you should see: Each note appears under the section you chose.
- 04
Approve them
If you are the owner or an approver, your notes are approved as soon as you save them. A note from someone without approval rights, or a suggestion from an AI tool, waits until an approver opens Approvals and approves it. Assistants only read approved notes.
What you should see: The word Approved on each note. Anything still waiting is listed on the Approvals page.
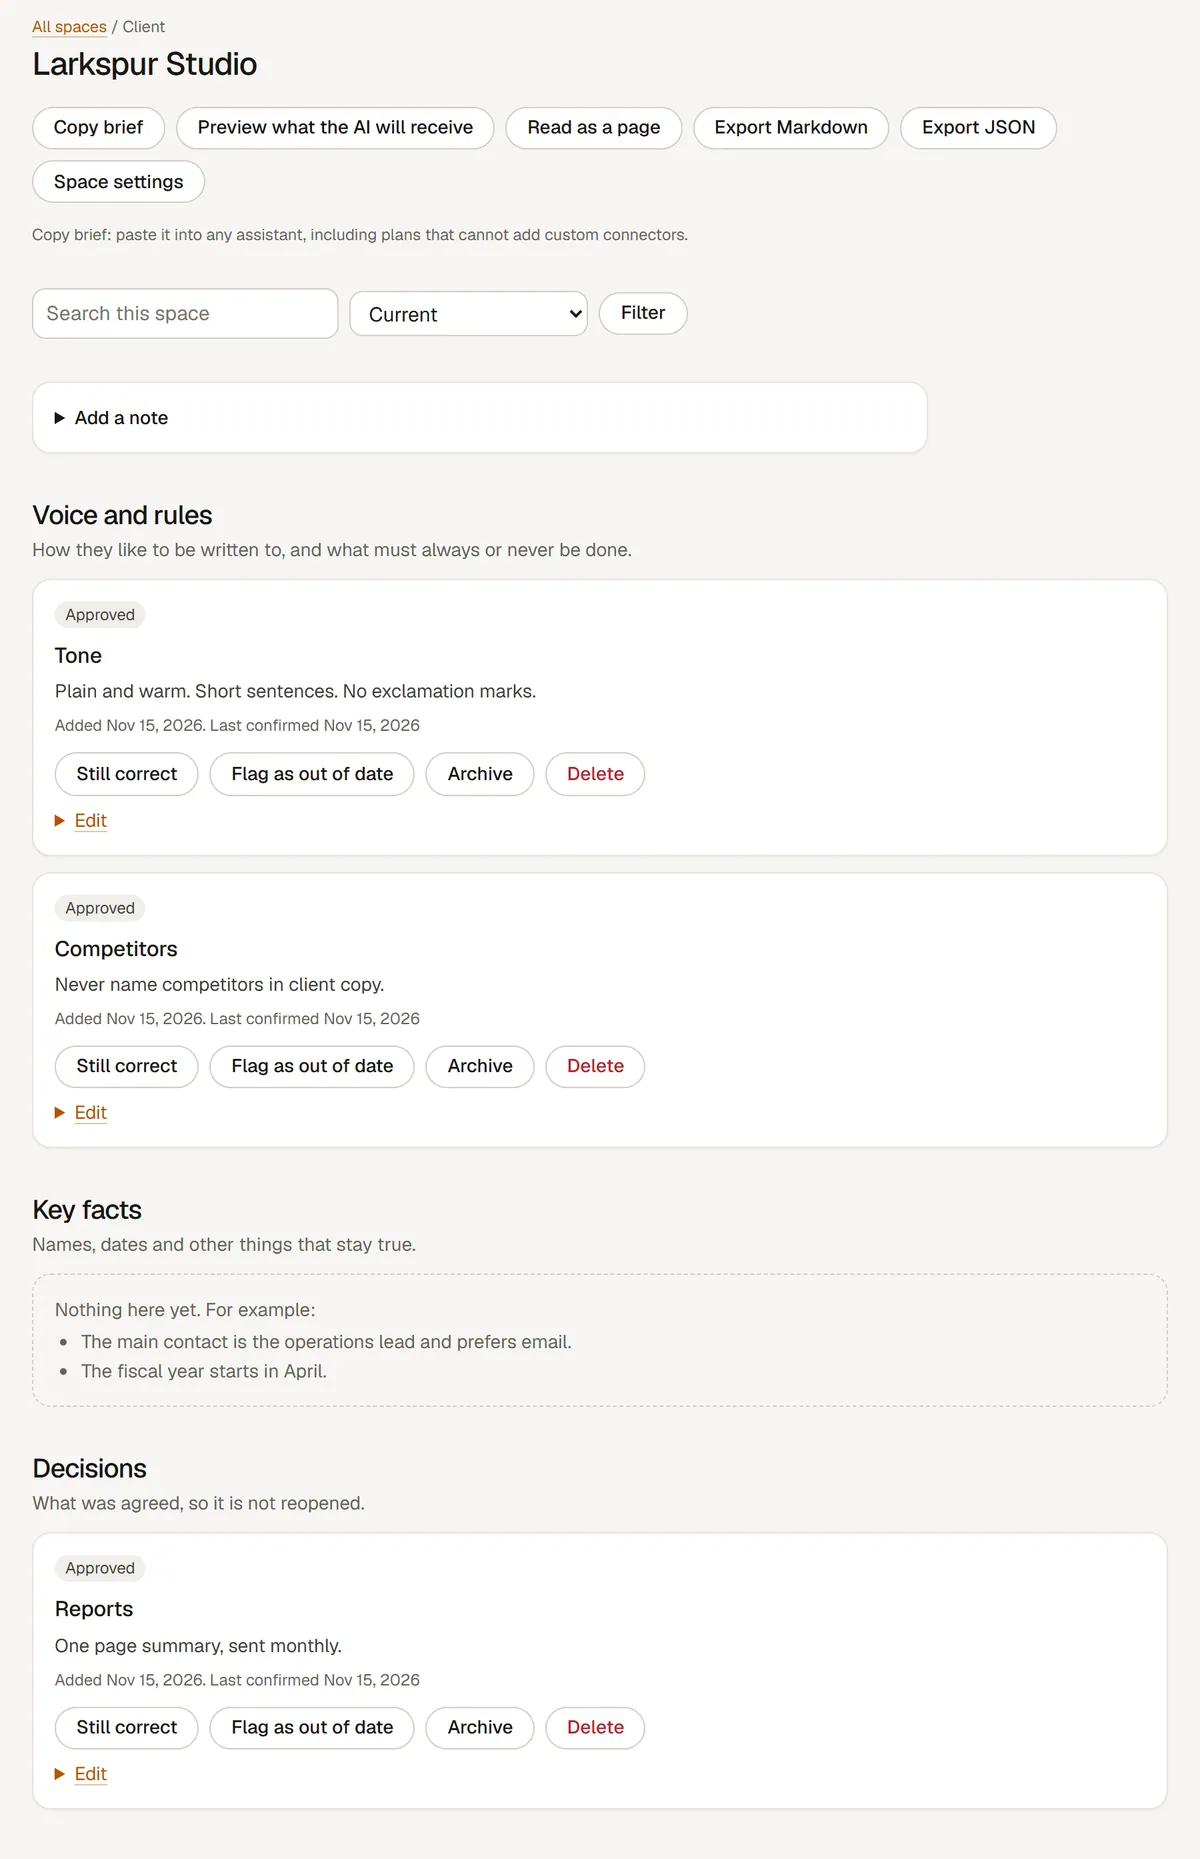
Three approved notes in an example space. - 05
Make a connection key and add it to your AI tool
Open Connections, keep your space ticked, choose Read and suggest, and press Create key. Copy the address it shows, because it is shown only once. Then add that address to Claude, ChatGPT or another AI tool as a custom connector or remote server. The connection guide has the steps for each tool.
What you should see: A box that says the key was created and is shown only once, with the address and a Copy address button. In your AI tool, the new connector shows as added.
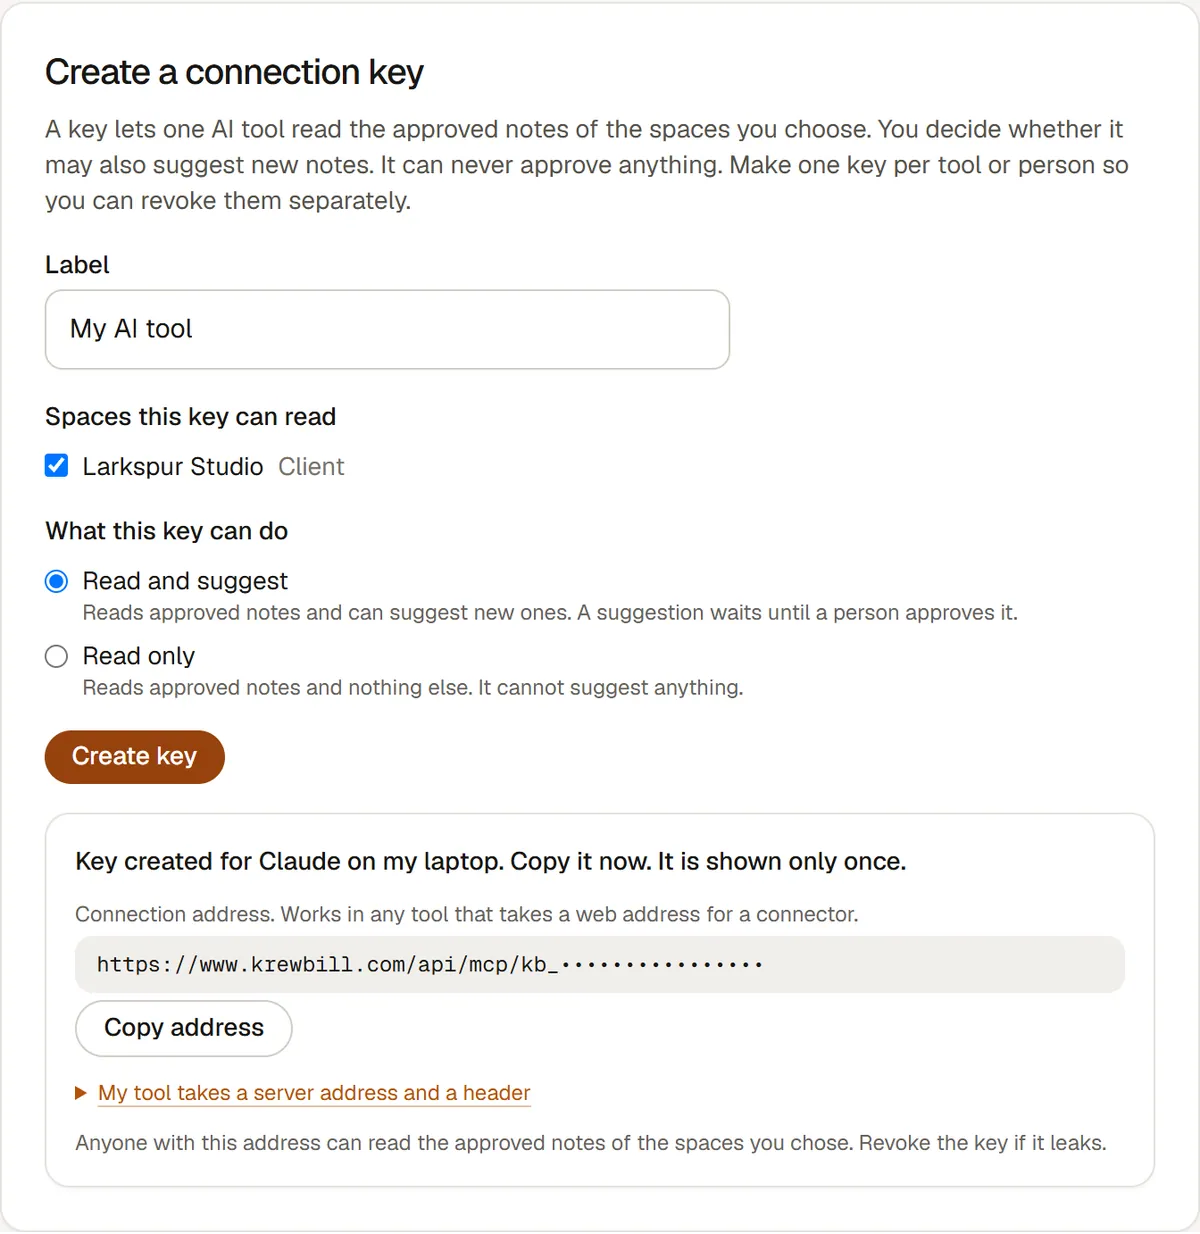
The address is shown once. In this picture the key is hidden. - 06
Check that an AI session reads your notes
Start a new chat with the connector switched on and ask: What do you know about, followed by your space's name. If your tool only uses a connector when it is named, say Use Krewbill in the question.
What you should see: The assistant says it read notes from your space and repeats the tone and rules you wrote. Back in Krewbill, the Connections page shows when the key was last used, usually within a minute.
Troubleshooting
If something goes wrong.
- The tool says 401, unauthorized, or cannot connect
- The key is missing, mistyped or revoked. Keys do not expire on their own, but an admin can revoke one on the Connections page, where it shows as Revoked. Make a new key, and paste the whole address again with nothing added after it.
- The tool says too many requests (429)
- Each key can make 60 requests a minute. Wait a minute and try again. Repeated wrong keys from the same place are also limited.
- No space named “X” is available to this key
- The key was not given that space. The reply lists the spaces the key can read. Make a new key with the right space ticked.
- This key is read only
- The key can read notes but cannot suggest them. Make a new key and choose Read and suggest.
- Too many suggestions in the last hour
- A key can send up to 100 suggestions an hour. Wait and try again later.
- The assistant does not use my notes
- Check that the connector is switched on for that chat, start a new chat, and name the connector once in your question. Notes that are still waiting for approval are not read. Some AI plans do not allow custom connectors.
- Create a space first, or only an admin can connect
- The key form needs at least one space. Only a workspace owner or admin can make keys, so ask one of them if you cannot see the Connections page.
Still stuck? Go to the Help page or write to hello@krewbill.com. We reply within 1 business day.